Brake Light Replacement: 1993 Plymouth Grand Voyager LE 3.3L V6
Plymouth Grand Voyager Model Years - 1991, 1992, 1993, 1994, 1995
How to remove a burnt out brake light bulb on a 1993 Plymouth Grand Voyager
What would you like your bulbs to do? See Clearer Upgrade To LED HID Style
Hans Angermeier is an ASE certified Maintenance and Light Repair Technician and has produced over 100,000 videos showing drivers how to fix things on their cars. He has broad expertise on basic repair procedures covering the majority of cars on the road. Over the past 10 years, Hans has been focused on building CarCareKiosk, which is visited by millions of drivers each month.
- Honda City helped make these videos
- Feedback
- Download Plymouth owners manuals
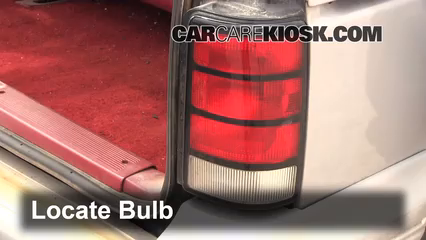
The brake lights on your 1993 Plymouth Grand Voyager illuminate when you hit the brake pedal and help prevent you from being rear ended by the cars behind you. Brake light bulbs grow dimmer over time and eventually burn out. See how to change the brake lights on your 1993 Plymouth Grand Voyager. The first step is to locate the brake light socket in your Grand Voyager. Remove the brake light socket and then replace the burnt out brake light bulb. When you replace the brake light bulb on your Grand Voyager, be careful not to touch the bulb directly with your fingers - the oil from your skin will cause the area that you touched to burn hotter than the rest of the bulb, which causes the bulb to burn out quicker.
If you are going to replace a bulb in your housing, it is a good idea to replace all of them. Not only will the lights on your Grand Voyager be brighter, you decrease the likelihood you will need to change any of the bulbs again in the near future. A burnt out bulb in the taillight cluster of your Grand Voyager is an excuse for a police officer to pull you over. Check your bulbs frequently and change burnt bulbs promptly.
- Advance Auto coupon for
20% off entire order: KIOSK20


