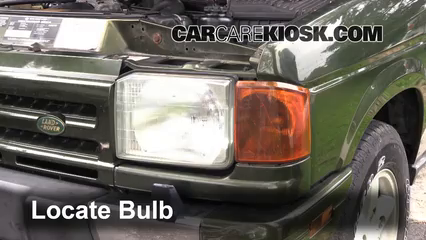
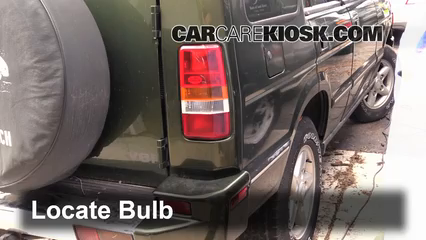
High Beam (Brights) Change: 1998 Land Rover Discovery LSE 4.0L V8
Land Rover Discovery Model Years - 1994, 1995, 1996, 1997, 1998
Steps to remove the high beam bulb on a 1998 Land Rover Discovery
What would you like your bulbs to do? See Clearer Upgrade To LED HID Style
Hans Angermeier is an ASE certified Maintenance and Light Repair Technician and has produced over 100,000 videos showing drivers how to fix things on their cars. He has broad expertise on basic repair procedures covering the majority of cars on the road. Over the past 10 years, Hans has been focused on building CarCareKiosk, which is visited by millions of drivers each month.
- Honda City helped make these videos
- Feedback
- Download Land Rover owners manuals
This video shows you how to change the highbeams, which are also known as brights or headlight high beam bulbs, in your 1998 Land Rover Discovery. High beam lights can also be commonly referred to as a full beam whereas your headlights may be called the low beams. The high beam symbol in the dashboard on a 1998 Land Rover Discovery is typically represented as a blue headlight icon with beams pointing outward. In some Land Rovers your headlight and high beams are the same bulb – it is possible for the headlight portion of the bulb to burn out and for the highbeams to continue to function properly and vice versa. Replacing the bulb will restore functionality to both high and low beam functions. Highbeam bulbs grow dimmer by over 20% over time, therefore we recommend changing both bulbs on your Discovery at the same time, even if only one is burnt out - this will allow both high beam bulbs to have the same brightness on each side.
Be careful not to touch the glass part of the new highbeam bulb with your finger when changing it on your Discovery. Touching the new highbeam bulb will cause the bulb to burn out quicker. If you accidentally touch the glass part, wipe it off with rubbing alcohol before inserting it into your Discovery.
- Advance Auto coupon for
20% off entire order: KIOSK20


 STOP AND SEAL LEAKS
 EXTENDS A/C LIFE
 PROTECTS AGAINST A/C WEAR